
Step 1
I began by fitting the two end posts and fastening them in place temporarily.

Step 2
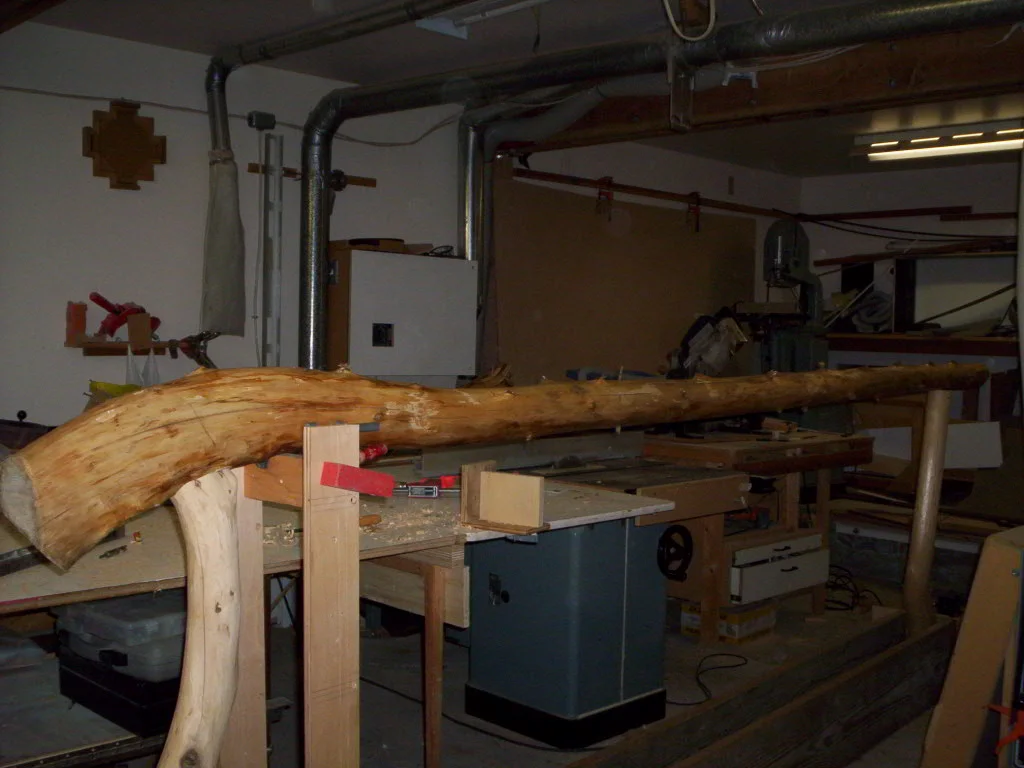
I removed the posts and fastened them in a frame the exact size as the stairwell. The top rail is on the table ready to clean and fit.
Step 3
The fitting has begun. I positioned the rail over the posts and traced the shapes of the post tops on the rail. A bit at a time I removed material with a drill and chisel to create a socket for the post tops. The process required several tracings.
Step 4
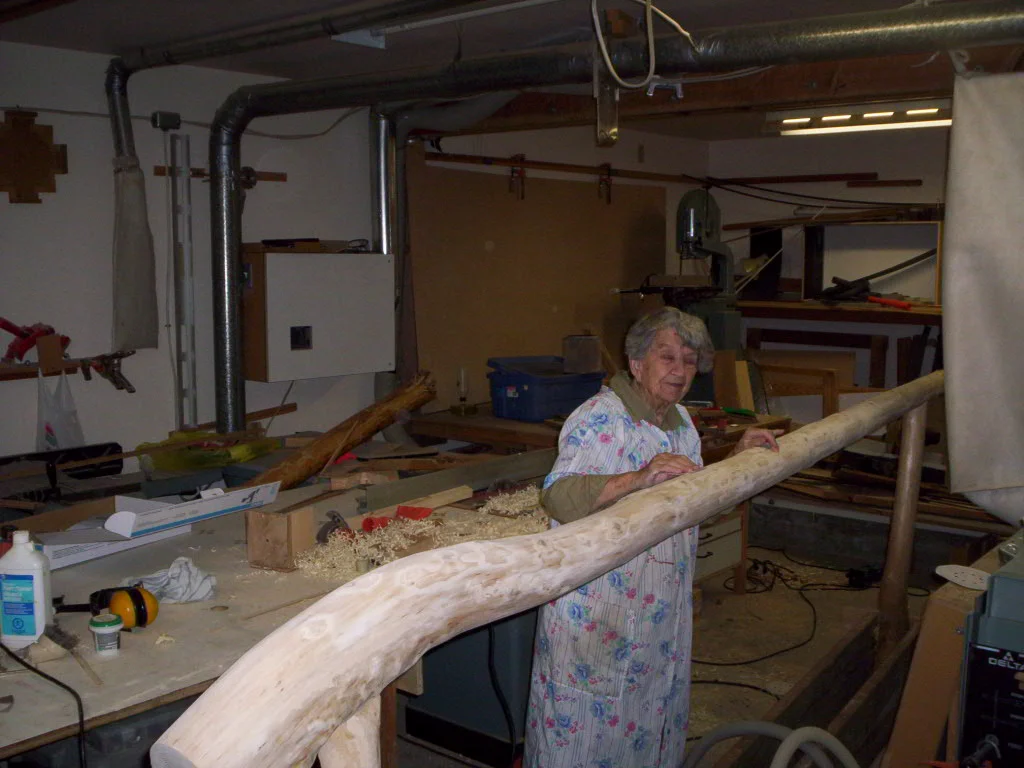
After the fitting was complete my apprentice and I ground and sanded the rail smooth.

Step 5
I lagged the finished posts in place permanantly and secured the top rail to the posts. The next step is to fill in the spaces. That can wait until I renovate Mom's bathroom.
Lower rail
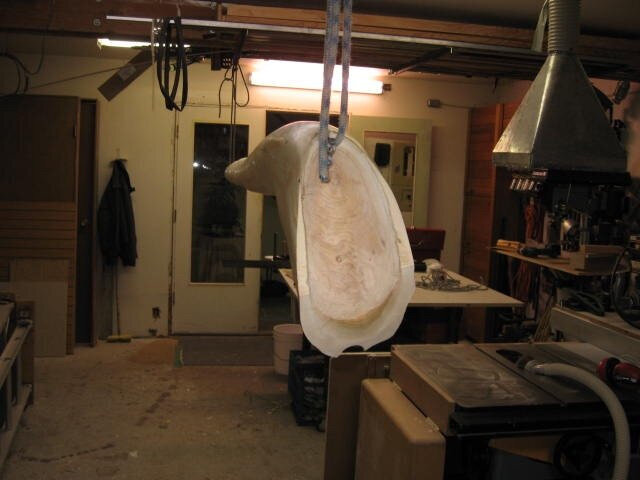
Lower railing shaped to fit far post.
Good fit
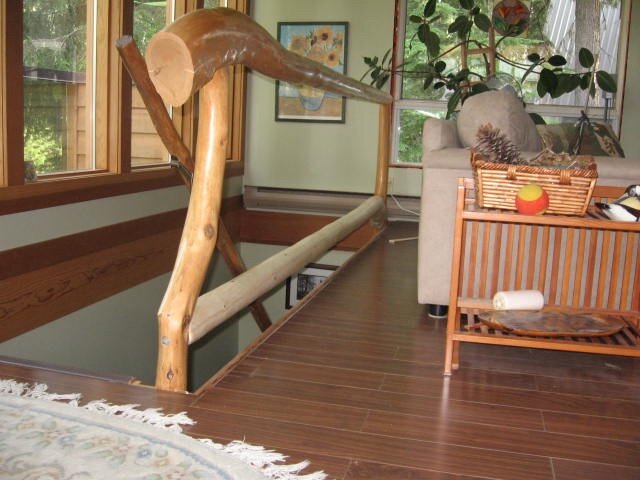
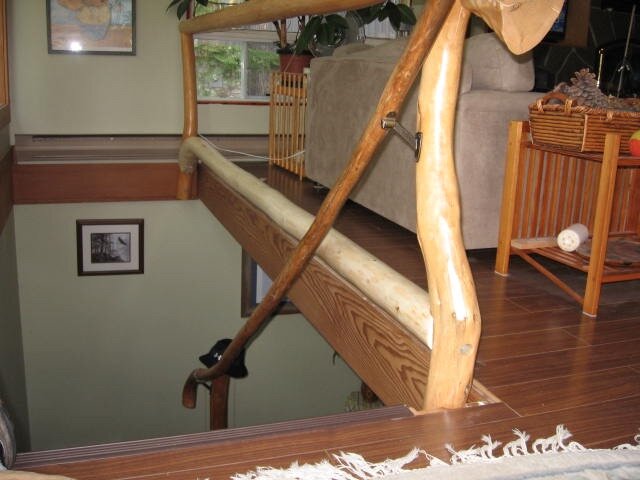
Good fit on the other side
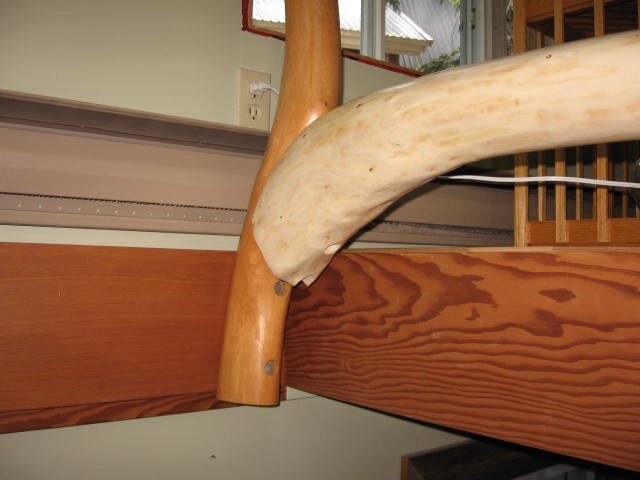
Good fit at the opposite end
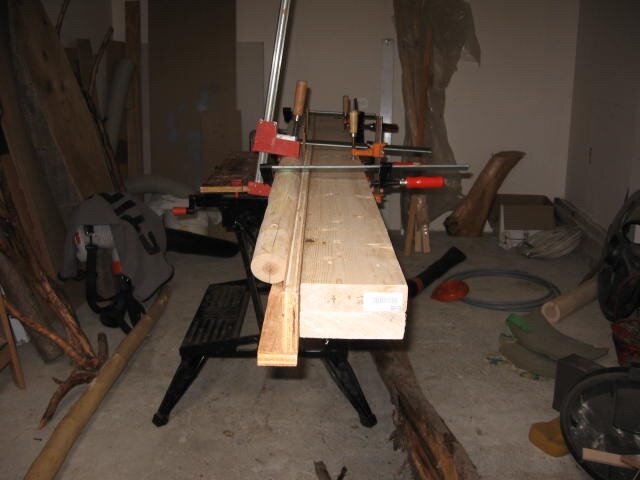
Most rails don’t come out of the woods ready to fit. The top and bottom rails were exceptions. This one I had to split along the curve with a bandsaw, squeeze construction adhesive into the kerf and clamp it as straight as I could.
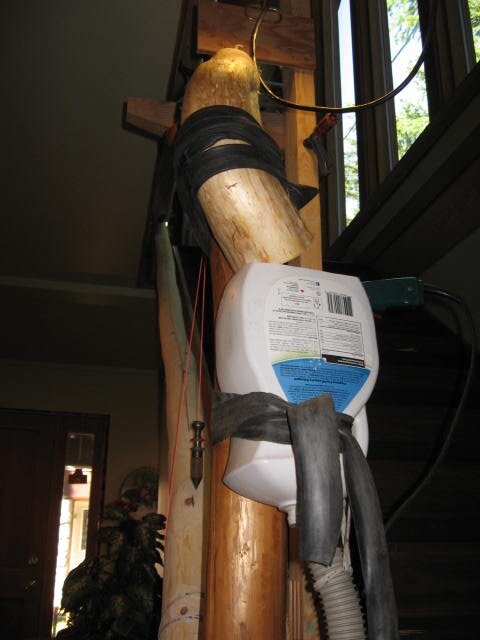
This is just a dust collector for my Shopvac so could work on the railing in position and not in my shop.
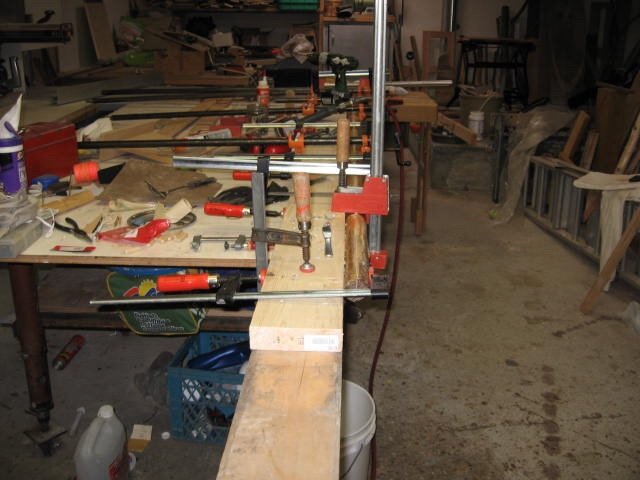
Another rail to straighten.
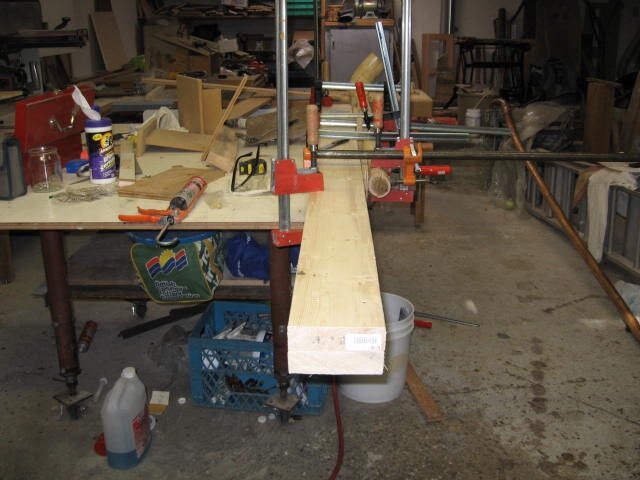
And even another rail to straighten

Starting to fit the bottom sloping rail
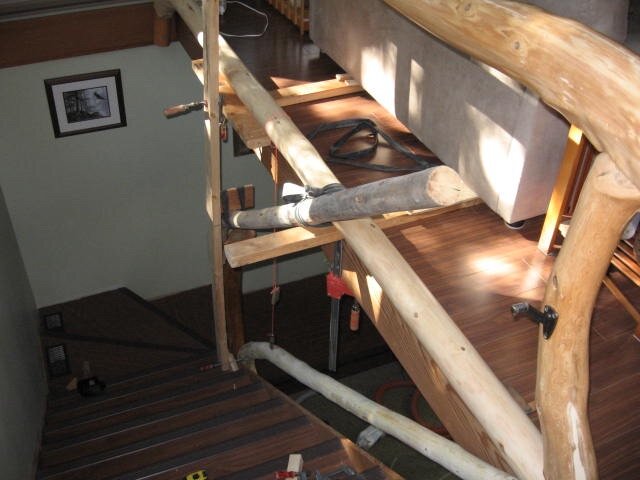
Setting up to fit the upper sloping rail to the bottom post and the bottom horizontal rail
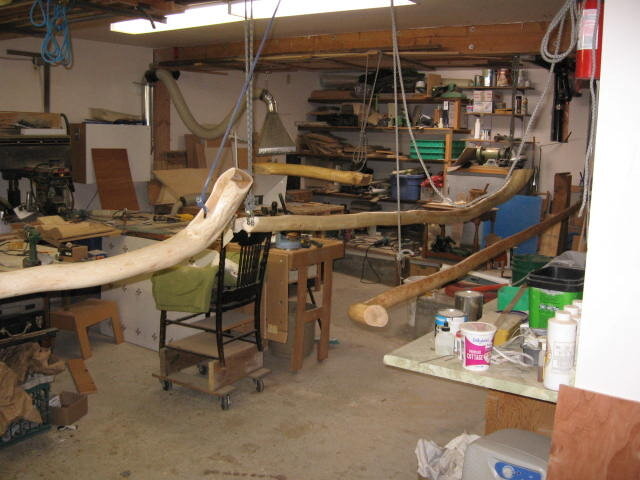
Applying 2 coats of clear finish
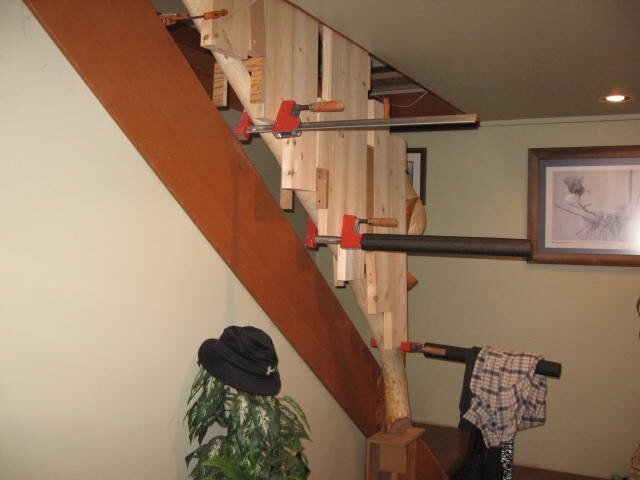
Set up to fit slabs between rails
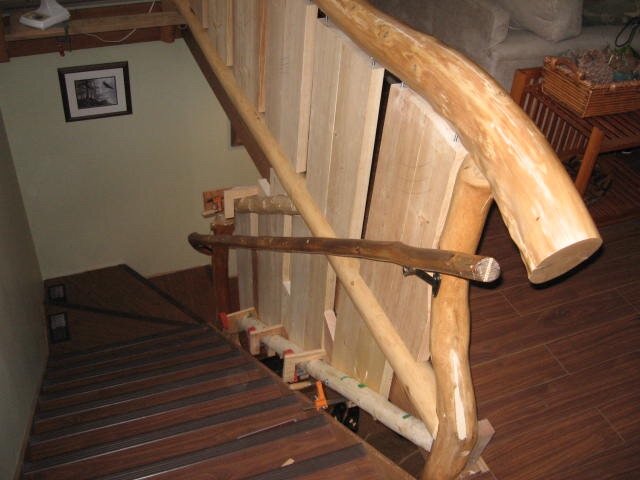
Upper slabs installed, lower slabs ready to mark and cut
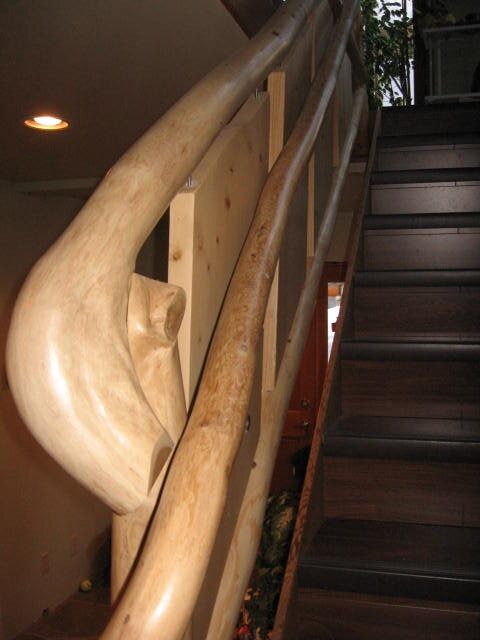
Fit of rail to post looks good even close up
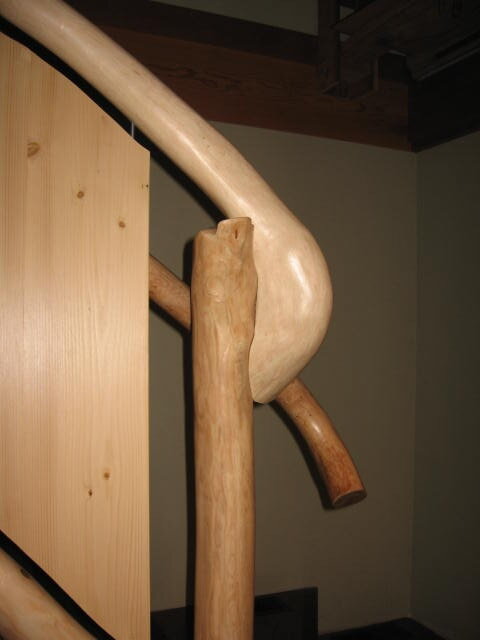
Looks good from the other side too

Upper railing complete
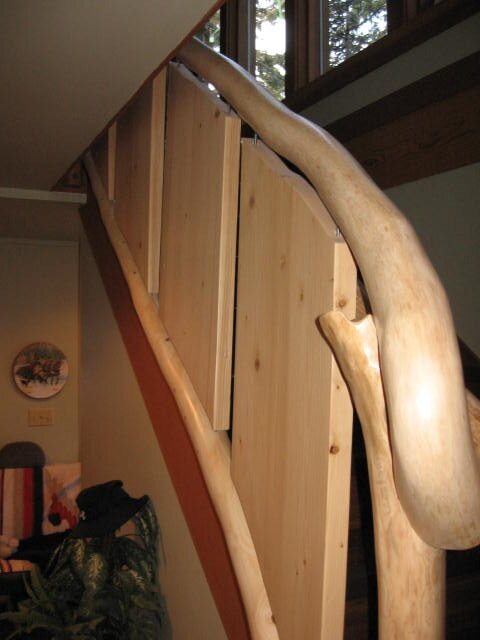
Lower railing complete


